


How to Download, Install, and Configure Visual Studio Code: A Comprehensive Guide
Visual Studio Code (VS Code) is a powerful and versatile code editor that's widely used by developers for various programming tasks. In this guide, we'll walk you through the steps to download, install, and configure VS Code. Additionally, we'll provide tips on optimizing your setup and making your development process SEO-friendly.
1. Step 1: Download Visual Studio Code
-
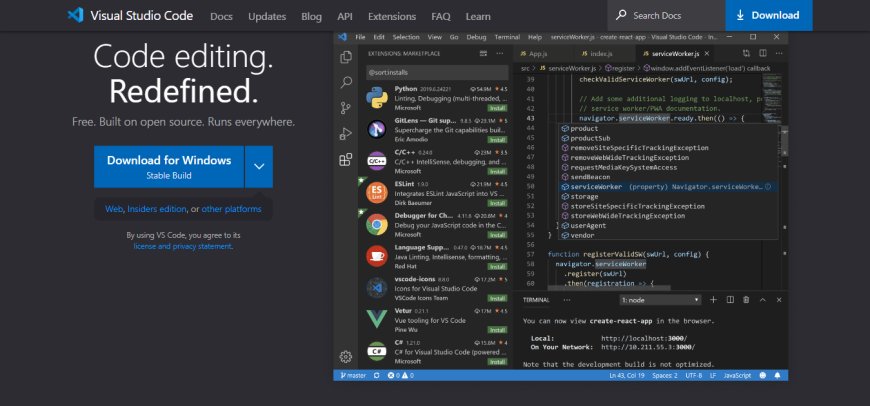
Visit the Official Website: Go to the Visual Studio Code website.
-
Choose Your Operating System: Select the appropriate download link for your operating system (Windows, macOS, or Linux).
-
Download the Installer: Click on the download button to get the installer file. The download should start automatically.
2. Step 2: Install Visual Studio Code
-
Run the Installer: Once the download is complete, open the installer file.
-
Accept the License Agreement: Review the terms and conditions, then click 'I accept the agreement' and 'Next' to proceed.
-
Choose Installation Location: Select the destination folder for the installation. The default location is usually fine for most users.
-
Select Additional Tasks: You can choose to create a desktop icon, add VS Code to your PATH, and register it as the default code editor. These options can enhance your workflow.
-
Complete the Installation: Click 'Install' to begin the installation process. Once finished, click 'Finish' to launch VS Code.
3. Step 3: Configure Visual Studio Code
-
Install Extensions: Extensions enhance the functionality of VS Code. To install extensions:
- Click on the Extensions icon in the sidebar or press
Ctrl+Shift+X. - Search for extensions like 'Prettier - Code formatter', 'ESLint', or language-specific extensions (e.g., Python, JavaScript).
- Click 'Install' for each desired extension.
- Click on the Extensions icon in the sidebar or press
-
Customize Settings:
- Open the settings by clicking on the gear icon in the bottom-left corner and selecting 'Settings'.
- Adjust settings such as font size, theme, and line numbers according to your preferences.
- Add custom configurations to the
settings.jsonfile for more advanced setup.
-
Configure Version Control:
- VS Code integrates seamlessly with Git. To set it up, ensure Git is installed on your machine.
- Initialize a new repository or clone an existing one through the Source Control icon in the sidebar.
-
Set Up Debugging:
- Configure debugging by creating a launch configuration. Click on the Debug icon in the sidebar and select 'create a launch.json file'.
- Choose the environment (Node.js, Python, etc.) and follow the prompts to set up
4. Step 4: Optimize Visual Studio Code for SEO-Friendly Development
-
Use SEO Plugins:
- Install extensions like 'HTMLHint', 'Stylelint', and 'SEO Peek' to ensure your code adheres to SEO best practices.
-
Follow Coding Standards:
- Maintain clean and structured code to improve readability and search engine crawling.
- Use semantic HTML tags (e.g.,
<header>,<article>,<footer>) to help search engines understand your content.
-
Leverage Code Snippets:
- Utilize code snippets to quickly insert common SEO elements, such as meta tags and structured data.
-
Regularly Update Extensions:
- Keep your extensions up to date to ensure compatibility and access to the latest features.
5. Summary
Downloading, installing, and configuring Visual Studio Code is a straightforward process that can significantly enhance your coding efficiency. By following this guide, you'll be well on your way to optimizing your development environment and making your projects more SEO-friendly. With the right setup and tools, you can streamline your workflow and improve the quality of your code.
Visual Studio Code is not just a code editor; it's a robust development environment that supports a wide range of programming languages and frameworks. Happy coding!
For more tips and tutorials on development tools and techniques, stay tuned to Croszeduverse!
What's Your Reaction?