


How to Install Git on Windows and Mac
Git is a widely used version control system that allows developers to track changes in their code and collaborate on projects efficiently. Whether you are a beginner or an experienced developer, installing Git on your computer is an essential step in your development journey. Learn how to install Git on Windows and Mac with this comprehensive step-by-step guide. Get started with Git today and manage your code repositories efficiently.
1. Installing Git on Windows
Step 1: Download the Git Installer
- Visit the official Git website: Git for Windows.
- The download should start automatically. If not, click on the provided link to start the download manually.
Step 2: Run the Git Installer
- Locate the downloaded
.exefile (typically in your Downloads folder). - Double-click the installer to run it.
- If prompted by the User Account Control, click
Yesto allow the installer to make changes to your device.
Step 3: Follow the Setup Wizard
- Click
Nextto begin the installation process. - Review the license agreement, then click
Next. - Choose the installation location (default is usually fine), then click
Next. - Select the components you want to install. The default selection is typically sufficient for most users. Click
Next. - Choose the start menu folder (default is usually fine), then click
Next. - Select the default editor used by Git. You can choose your preferred text editor, such as Visual Studio Code or Notepad++. Click
Next. - Adjust the name of the initial branch in new repositories if needed, then click
Next. - Ensure "Git from the command line and also from 3rd-party software" is selected, then click
Next. - Select the HTTPS transport backend. The default option ("Use the OpenSSL library") is usually best. Click
Next. - Configure the line ending conversions. For most users, the default option ("Checkout Windows-style, commit Unix-style line endings") is appropriate. Click
Next. - Choose the terminal emulator you'd like to use with Git Bash. The default ("Use MinTTY") is recommended. Click
Next. - Select the default behavior of
git pull. The default option ("Default (fast-forward or merge)") is typically suitable. ClickNext. - Choose the credential helper. The default option ("Git Credential Manager") is generally the best choice. Click
Next. - Enable file system caching and any other experimental options if desired, then click
Next.
Step 4: Complete the Installation
- Click
Installto start the installation process. - Once the installation is complete, click
Finish.
Step 5: Verify the Installation
- Open Command Prompt or Git Bash.
- Type the following command and press Enter:
git --version - You should see the installed Git version displayed, confirming the successful installation.
2. Installing Git on Mac
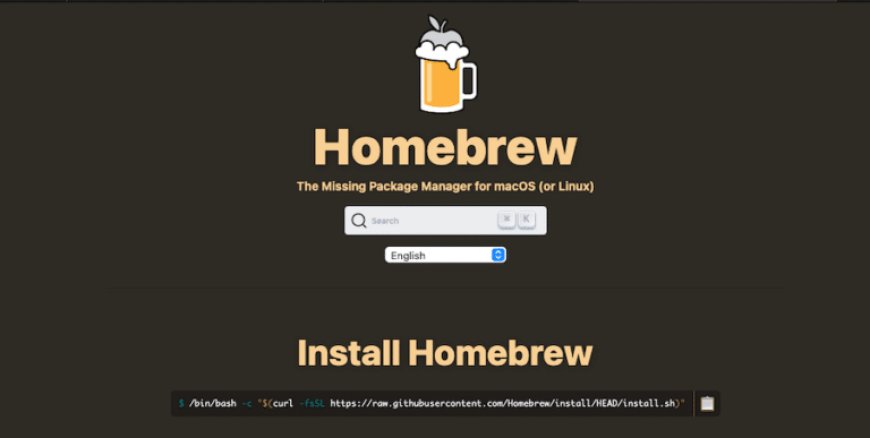
Step 1: Install Homebrew (if not already installed)
- Open Terminal.
- Install Homebrew by running the following command:
/bin/bash -c "$(curl -fsSL https://raw.githubusercontent.com/Homebrew/install/HEAD/install.sh)" - Follow the on-screen instructions to complete the Homebrew installation.
Step 2: Install Git Using Homebrew
- In Terminal, run the following command to install Git:
brew install git - Homebrew will download and install Git along with any necessary dependencies.
Step 3: Verify the Installation
- In Terminal, type the following command and press Enter:
git --version - You should see the installed Git version displayed, confirming the successful installation
3. Conclusion
With Git installed on your Windows or Mac system, you are now ready to start managing your code repositories efficiently. Git's powerful features will help you track changes, collaborate with other developers, and maintain a clean and organized codebase.
For more detailed instructions and troubleshooting, refer to the official Git documentation.
What's Your Reaction?


-
 WangechiVery helpful indeed. Thank you.