


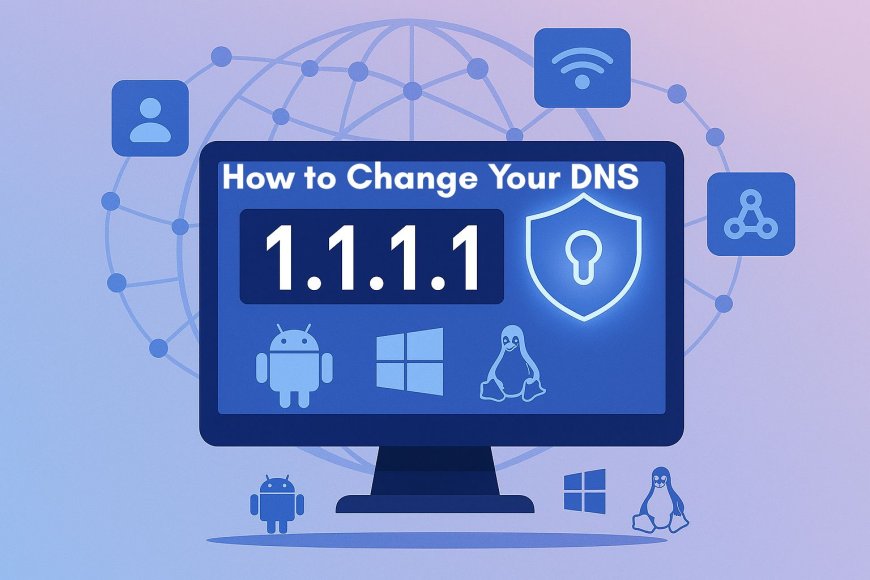
How to Change Your DNS (Windows, macOS, Android, iOS & Router) - Step-by-Step Guide
Learn how to change your DNS to Cloudflare 1.1.1.1 or Google 8.8.8.8 on Windows, macOS, Android, iOS, Linux, and your router. Speed up lookups, boost privacy, and enable DNS over HTTPS with our clear step-by-step guide
Why change your DNS?
DNS (Domain Name System) is the “phone book” of the internet. Switching from your ISP’s default DNS to a well-known resolver can give you:
-
Faster lookups → pages can start loading sooner
-
Better privacy → reputable resolvers don’t sell your data
-
More reliability & security → fewer outages, optional blocking of known-bad domains
Popular choices
-
Cloudflare:
1.1.1.1and1.0.0.1(IPv6:2606:4700:4700::1111,::1001) -
Google:
8.8.8.8and8.8.4.4(IPv6:2001:4860:4860::8888,::8844) -
Quad9 (malware-blocking):
9.9.9.9and149.112.112.112
Tip: Keep IP assignment on Automatic (DHCP) unless you specifically need a fixed local IP. Only change DNS to Manual.
Windows 11 / Windows 10 (Graphical — easiest)
-
Open Settings → Network & Internet.
-
Choose your connection:
-
Wi-Fi → click your network name, or
-
Ethernet → click Ethernet.
-
-
Find DNS server assignment and click Edit.
-
Set Manual → toggle IPv4 On (and IPv6 On if you use IPv6).
-
Enter:
-
IPv4 Preferred DNS:
1.1.1.1 -
IPv4 Alternate DNS:
1.0.0.1 -
(Optional IPv6) Preferred:
2606:4700:4700::1111, Alternate:2606:4700:4700::1001
-
-
Set DNS over HTTPS to On (Automatic).
-
Save.
-
Press Win + R, type
cmd, press Enter, then run: -
Verify (optional):
The answer should point to Cloudflare.
Windows (Classic Control Panel — optional)
-
Control Panel → Network and Internet → Network and Sharing Center → Change adapter settings.
-
Right-click your active adapter → Properties.
-
Select Internet Protocol Version 4 (TCP/IPv4) → Properties → Use the following DNS server addresses.
-
Enter
1.1.1.1and1.0.0.1→ OK. (Repeat for IPv6 if used.) -
Flush DNS as above.
macOS (Ventura/Sonoma/Monterey)
-
System Settings → Network.
-
Select Wi-Fi (or Ethernet) → click Details (or Advanced).
-
Open DNS tab.
-
Click + and add
1.1.1.1and1.0.0.1.-
(Optional IPv6) add
2606:4700:4700::1111and::1001.
-
-
OK → Apply.
-
Verify (optional) in Terminal:
Android (Android 9+ with Private DNS)
-
Settings → Network & Internet → Advanced → Private DNS.
-
Choose Private DNS provider hostname.
-
Enter:
1dot1dot1dot1.cloudflare-dns.com -
Save. (This enables encrypted DNS over TLS system-wide.)
Older Android versions: edit the Wi-Fi network’s IP settings → Static and add DNS servers there.
iPhone/iPad (iOS/iPadOS)
-
Settings → Wi-Fi → tap the ⓘ next to your network.
-
Configure DNS → Manual.
-
Add Servers:
1.1.1.1and1.0.0.1. -
Save.
iOS encrypts DNS per-app (e.g., iCloud Private Relay) or via configuration profiles. The steps above set standard DNS for that Wi-Fi.
Linux (Ubuntu desktop example)
-
Settings → Network.
-
Click the gear beside your active connection.
-
IPv4 tab → set DNS to
1.1.1.1, 1.0.0.1. -
(Optional) IPv6 tab → add Cloudflare IPv6.
-
Apply and reconnect.
CLI (NetworkManager):
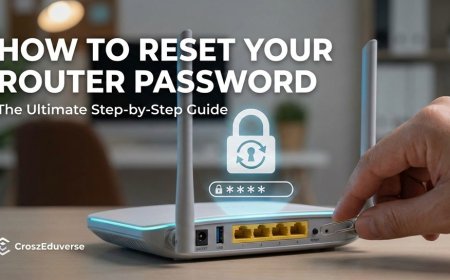
Router (applies to every device on your network)
-
Log into your router’s admin page (often
192.168.0.1or192.168.1.1). -
Find Internet/WAN or DHCP settings.
-
Set Primary DNS to
1.1.1.1and Secondary DNS to1.0.0.1. -
Save and reboot the router if prompted.
Some routers call this “Static DNS”. If you see “DNS relay/proxy,” leave it On unless your manual suggests otherwise.
Verify your new DNS
-
Command line:
-
Windows:
nslookup one.one.one.one -
macOS/Linux:
dig one.one.one.one
-
-
Browser check: open a few sites you often use—pages should start resolving quickly.
Troubleshooting & pro tips
-
Captive portals (hotel/coffee shop Wi-Fi) may fail with encrypted DNS (DoH/DoT). Temporarily disable DNS over HTTPS/Private DNS, sign in, then re-enable.
-
Flush caches after changes:
-
Windows:
ipconfig /flushdns -
macOS:
sudo dscacheutil -flushcache; sudo killall -HUP mDNSResponder
-
-
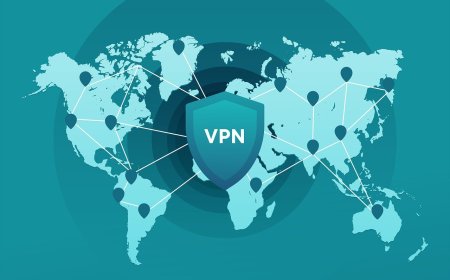
VPNs: Many VPNs override DNS. Check the VPN app’s DNS settings if results differ while connected.
-
Browsers: Chrome/Edge/Firefox can use their own “Secure DNS”. Align the browser to Cloudflare or turn it off to use system settings consistently.
-
IPv6: If your ISP/router doesn’t support IPv6, leave IPv6 DNS blank or off; IPv4 DNS is enough.
FAQs
Will this make my internet “faster”?
It won’t increase raw bandwidth, but it often makes web pages start loading sooner by speeding up domain lookups.
Cloudflare vs Google vs Quad9—who should I use?
-
Cloudflare: great speed + strong privacy stance.
-
Google: very reliable and widely supported.
-
Quad9: focuses on blocking known-malicious domains.
Should I change IP assignment too?
No. Keep IP assignment = Automatic (DHCP) unless you need a fixed local IP for servers/CCTV/printers. Only set DNS manually.
What's Your Reaction?