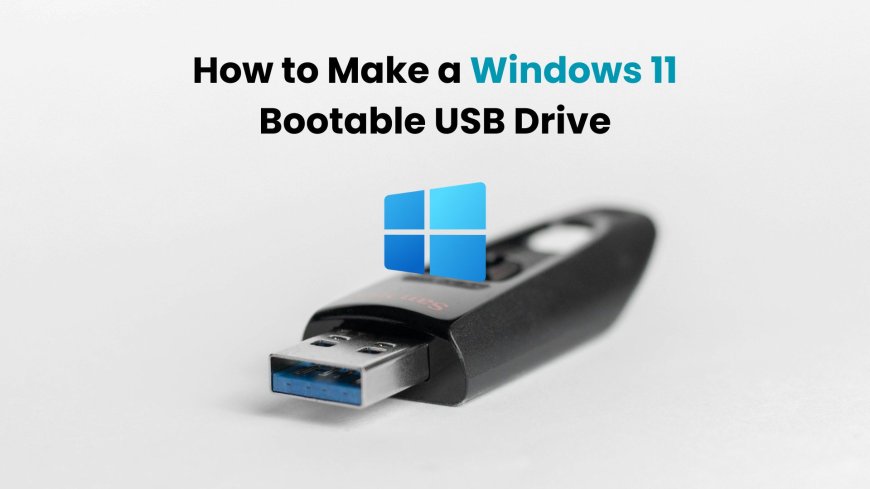
How to Make a Windows 11 Bootable USB Drive
Learn how to create a Windows 11 bootable USB drive using Microsoft’s Media Creation Tool or Rufus. Step-by-step setup guide for installation or repair.
Want to install Windows 11 on your PC or laptop? The easiest and most reliable way is by using a Windows 11 bootable USB drive. Whether you’re setting up a new device, reinstalling Windows, or fixing boot issues, this guide will walk you through the process step-by-step.
In this CroszEduVerse tutorial, I’ll show you how to create a Windows 11 bootable USB drive using Microsoft’s Media Creation Tool and the popular Rufus utility.
What is a Bootable USB Drive?
A bootable USB drive is a flash drive that contains the Windows 11 setup files in a format that can start (boot) your computer. You can use it to:
-
Install Windows 11 on a new PC
-
Upgrade from Windows 10 to 11
-
Repair your Windows 11 system
-
Bypass boot or system errors
What You Need:
Before we start, make sure you have the following:
Tools Required:
-
USB flash drive (at least 8GB)
-
Windows PC with internet access
-
Windows 11 ISO file (optional if using Rufus)
Method 1: Use Microsoft Media Creation Tool (Recommended)
This is the easiest and official method from Microsoft.
Steps:
Step 1: Download the Tool
Visit the Microsoft Windows 11 Download Page
Download the Media Creation Tool for Windows 11.
Step 2: Run the Tool
-
Launch the
.exefile as Administrator. -
Accept the license terms.
Step 3: Create Installation Media
-
Select "Create installation media (USB flash drive)"
-
Choose your language, Windows edition, and architecture (64-bit)
Step 4: Select USB Flash Drive
-
Plug in your USB
-
Select it when prompted
-
Click Next, and the tool will download Windows 11 and create the bootable USB automatically.
This may take 15–30 minutes depending on your internet speed.
Method 2: Use Rufus (For Advanced Users)
If you already have a Windows 11 ISO file, you can use Rufus to make a bootable USB.
Steps:
-
Download Rufus from rufus.ie
-
Insert your USB flash drive.
-
Launch Rufus.
-
Under Boot selection, select your Windows 11 ISO file.
-
Choose:
-
GPT + UEFI (most modern PCs)
-
MBR + BIOS (for older PCs)
-
-
Click Start and wait for completion.
You now have a working Windows 11 bootable USB.
How to Boot from the USB
To use the USB drive:
-
Insert the USB into the target PC.
-
Restart the PC and press the boot key (
F12,ESC, orDEL– depends on your brand). -
Select the USB device from the boot menu.
-
You’ll be taken directly to the Windows 11 installation screen.
Troubleshooting
-
USB not showing up? Reformat as FAT32 or use another port.
-
“Secure Boot” error? Disable Secure Boot in BIOS.
-
ISO corrupted? Re-download from the official Microsoft site.
Why Use a Bootable USB for Windows 11?
Using a bootable USB offers several benefits:
-
It’s faster than DVD installation
-
You can reuse it multiple times
-
It works even when your OS crashes
-
It supports both UEFI and legacy BIOS
Final Thoughts
Creating a Windows 11 bootable USB drive is a must-know tech skill in 2025. Whether you’re a tech enthusiast, a DIY PC user, or just upgrading from Windows 10, this process will save you time, money, and stress.
For more tutorials like this, follow CroszEduVerse (Amos Peter Blogs) – your source for IT education, tech tips, digital marketing, and system troubleshooting.
Stay Updated:
Subscribe to my newsletter or follow @CroszEduVerse on social platforms for weekly tips and guides.
What's Your Reaction?













![2024 Social Media Image Sizes for All Networks [CHEATSHEET]](https://blogs.amospeter.co.ke/uploads/images/202406/image_430x256_666ad3fcd2380.jpg)


