


How to Edit a WordPress Site Offline: A Step-by-Step Guide
Learn how to edit your WordPress site offline with this comprehensive guide. Set up a local server, download your site files, and make changes safely without impacting your live site. Perfect for testing and development.
Editing a WordPress site offline can be a lifesaver, especially when you want to experiment without affecting the live site. This guide will walk you through the steps to set up and edit your WordPress site offline.
1. Set Up a Local Server
To edit your WordPress site offline, you need a local server environment on your computer. This mimics a live server, allowing you to run WordPress locally.
- Windows Users: Use software like XAMPP or WampServer.
- Mac Users: Use MAMP or XAMPP.
- Linux Users: Use LAMP or XAMPP.
Steps:
- Download and install your preferred local server software.
- Launch the application and start the local server services (usually Apache and MySQL).
2. Download Your WordPress Site
You’ll need a copy of your WordPress site’s files and database.
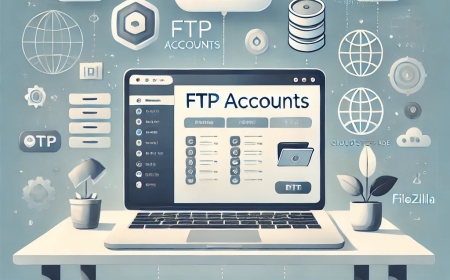
- Download Site Files: Access your website’s files via FTP using tools like FileZilla. Download the entire WordPress folder to your computer.
- Export Database: Log in to your web host’s control panel (e.g., cPanel) and use phpMyAdmin to export your WordPress database.
Steps:
- Open phpMyAdmin in your host’s control panel.
- Select your WordPress database.
- Click on the “Export” tab and download the database file.
3. Set Up WordPress Locally
Now, you need to set up WordPress on your local server using the files and database you downloaded.
Steps:
- Copy the WordPress folder to the 'htdocs' directory (for XAMPP) or 'www' directory (for WAMP/MAMP).
- Create a new database using phpMyAdmin on your local server. Name it appropriately.
- Open the
wp-config.phpfile in your WordPress folder and edit the following lines:phpdefine('DB_NAME', 'your_local_database_name'); define('DB_USER', 'root'); define('DB_PASSWORD', ''); define('DB_HOST', 'localhost'); - Import the downloaded database into your new local database via phpMyAdmin.
4. Edit the WordPress Site Offline
Now that your WordPress site is set up locally, you can edit it without affecting your live site.
Steps:
- Open your browser and go to
http://localhost/yourwordpressfolder. - Log in with your WordPress credentials.
- Make the necessary changes: modify themes, add plugins, or change settings.
5. Sync Changes Back to the Live Site
Once you're satisfied with your offline edits, it’s time to apply them to your live site.
Steps:
- Export your local database via phpMyAdmin.
- Use an FTP client to upload your updated files to the live server.
- Import the updated database into your live server’s database via phpMyAdmin.
Pro Tip: Before replacing the live database, ensure to back up the current live database.
6. Use a Plugin for Easier Management
If manually syncing changes feels too complex, consider using plugins like Duplicator or All-in-One WP Migration. These plugins simplify the process of moving WordPress sites between environments.
In Conclusion
Editing your WordPress site offline is an efficient way to test changes without risking your live site. By following these steps, you can set up a local environment, make edits safely, and then sync those changes back to your live site. Happy editing!
What's Your Reaction?